Adding Time Bill with Both Regular Time and Overtime
# Add Time Bill
1. Here is the first page in submitting a time bill. Continue as usual, and select regular time on this page because the regular hours are what you are inputting first.

2. Click on Next

3. inout all regular time for the week
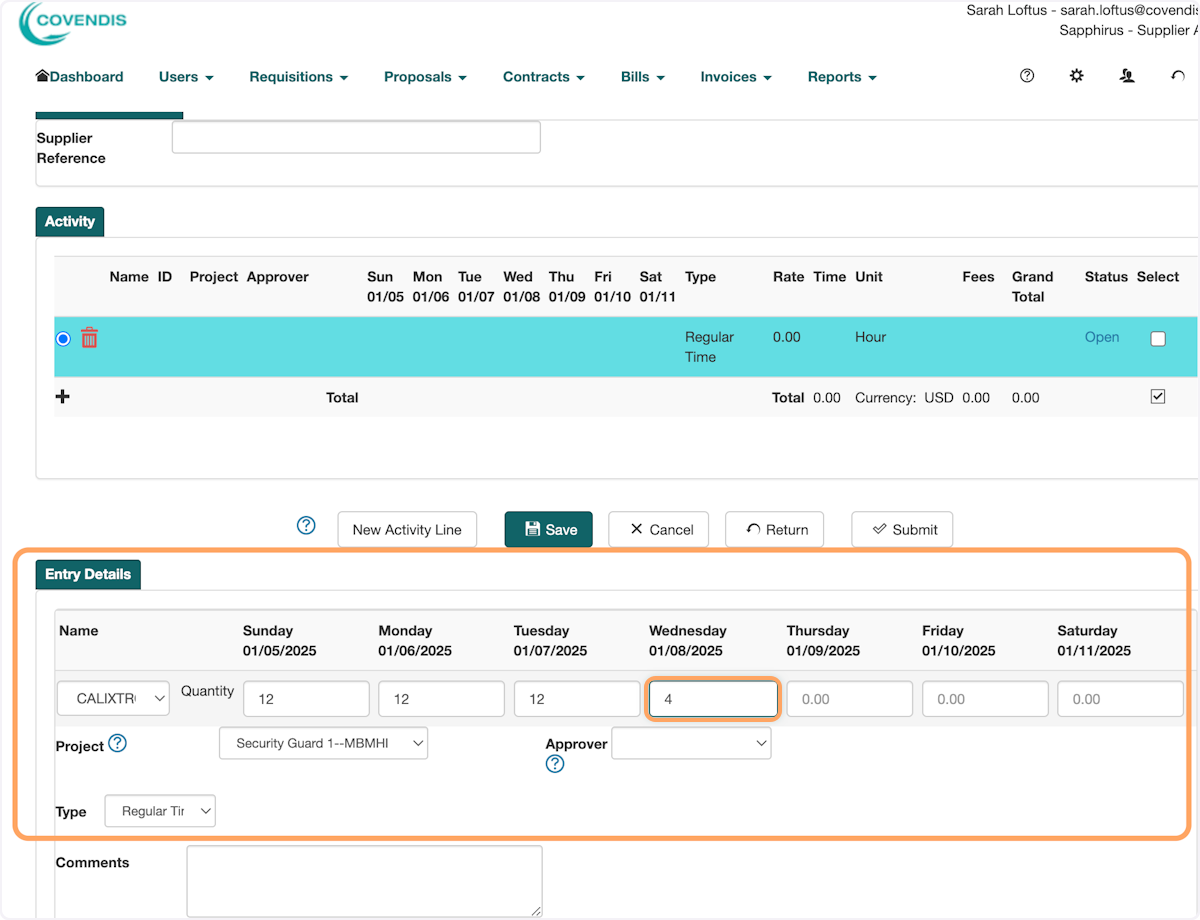
4. Select your approver from the list

5. Click on Save. This will save the regular time onto the bill.

6. Click on New Activity Line. This will add a new activity line you can add Overtime on.
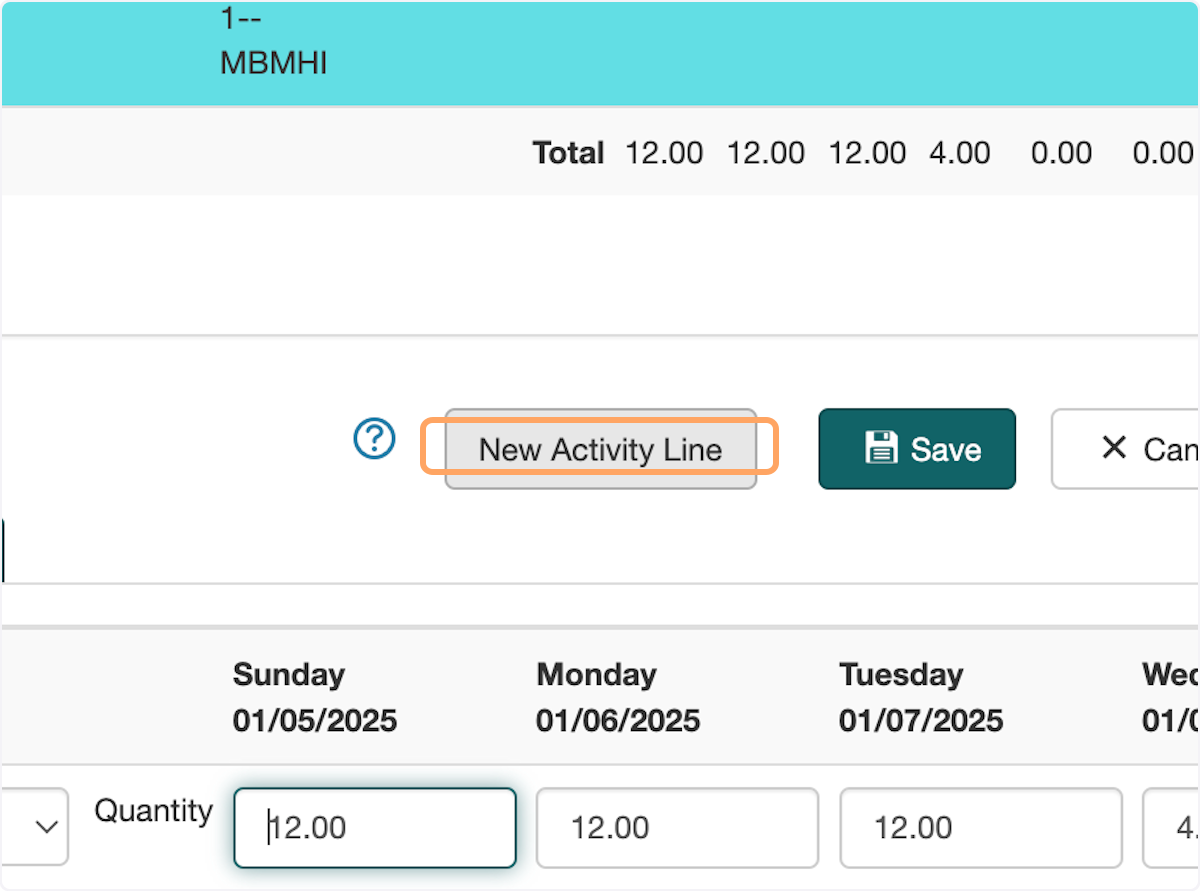
7. Add all your overtime on this new activity line
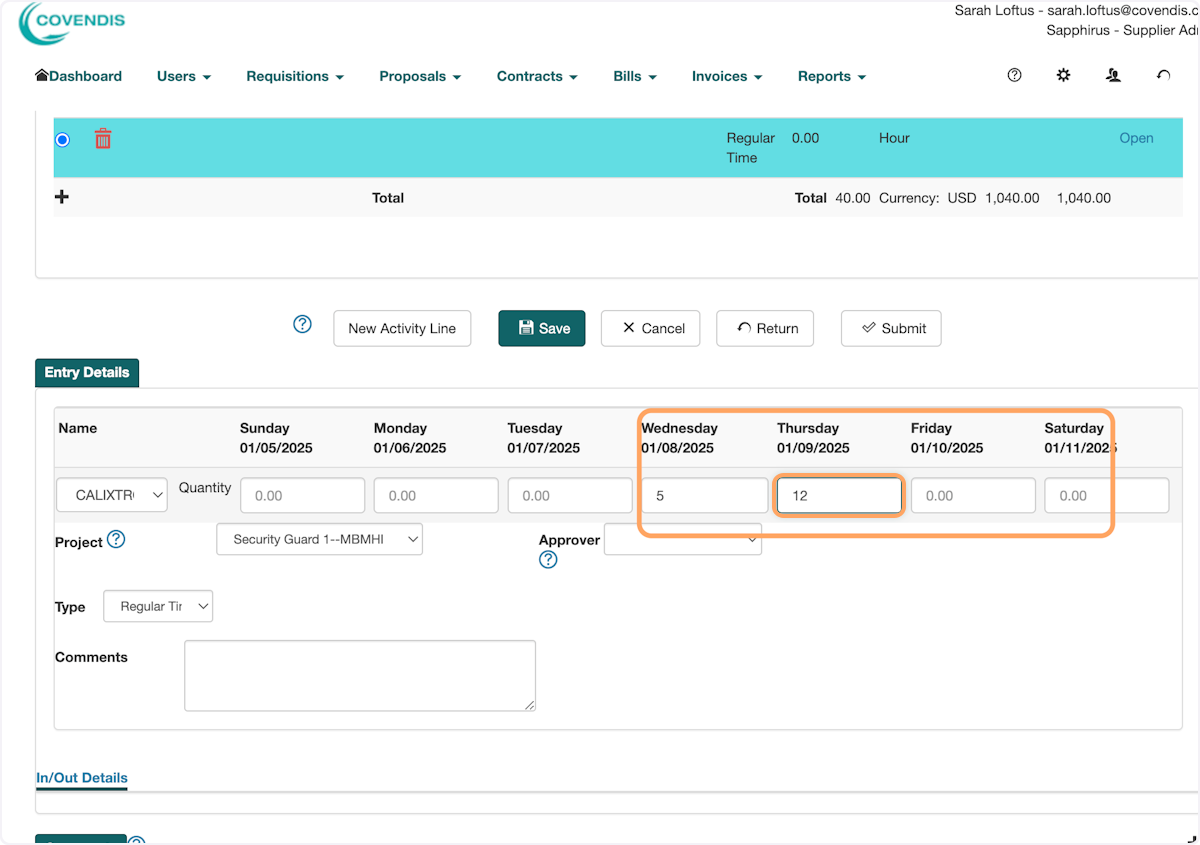
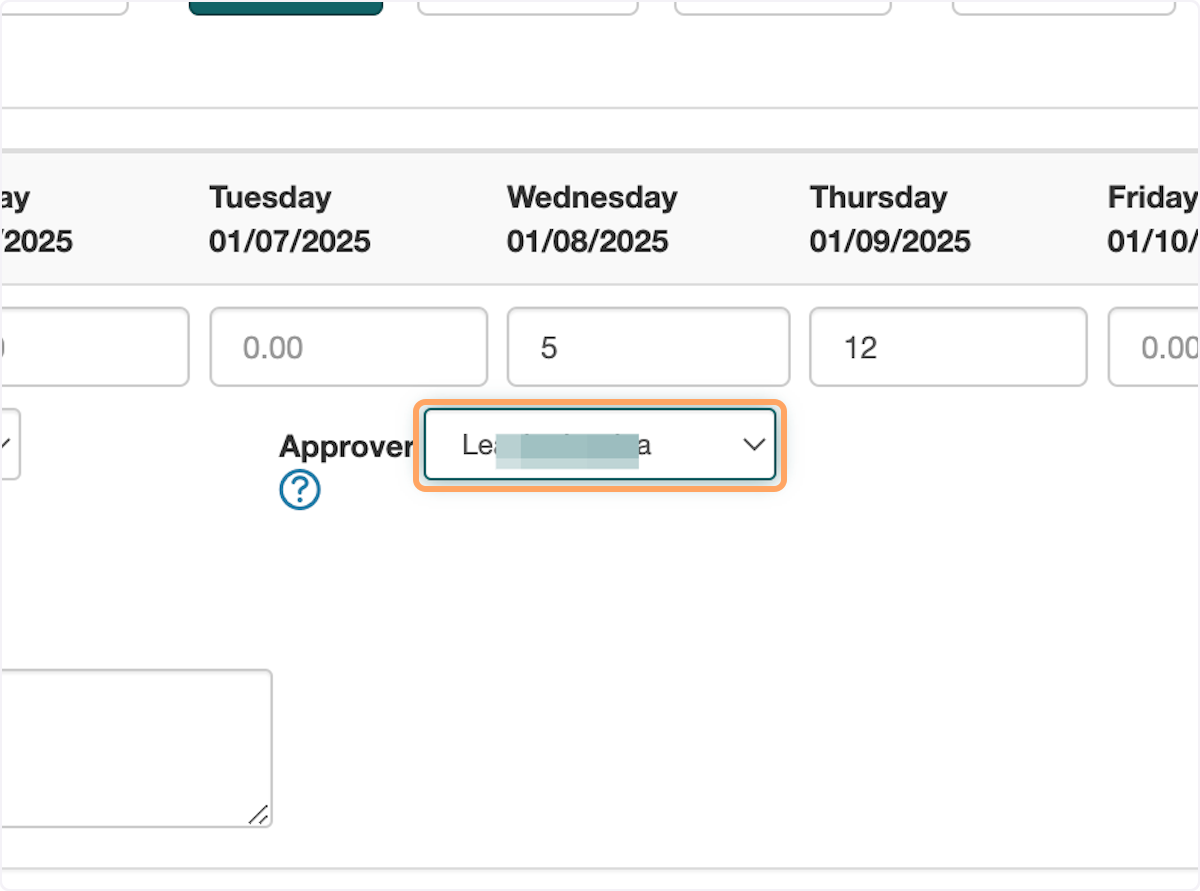
8. Select the approver again
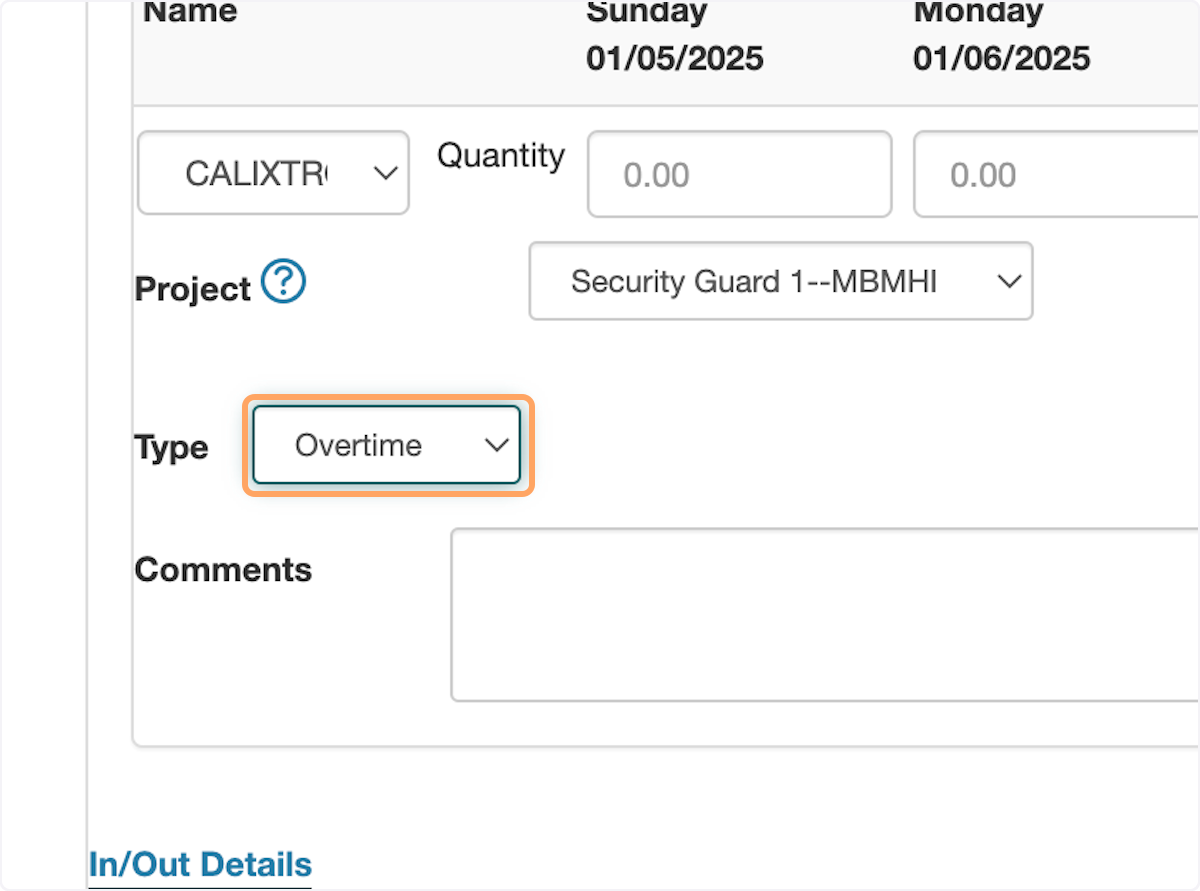
9. Select Overtime from Type. This will differentiate the Overtime from the Regular Time.
10. Click on Save
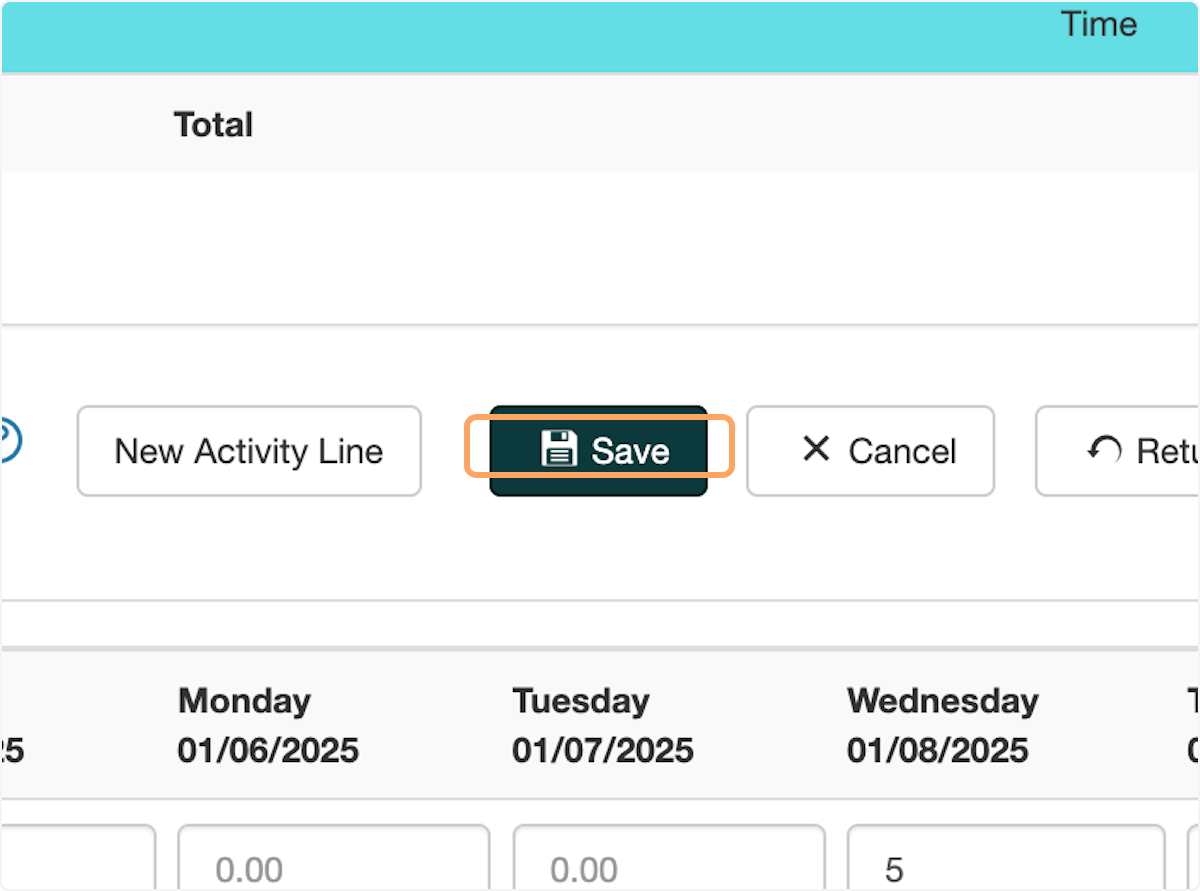
11. Now you should see the two time line items, one regular time, one overtime, on the same bill. Review this info

12. Select Submit

Was this article helpful?
That’s Great!
Thank you for your feedback
Sorry! We couldn't be helpful
Thank you for your feedback
Feedback sent
We appreciate your effort and will try to fix the article